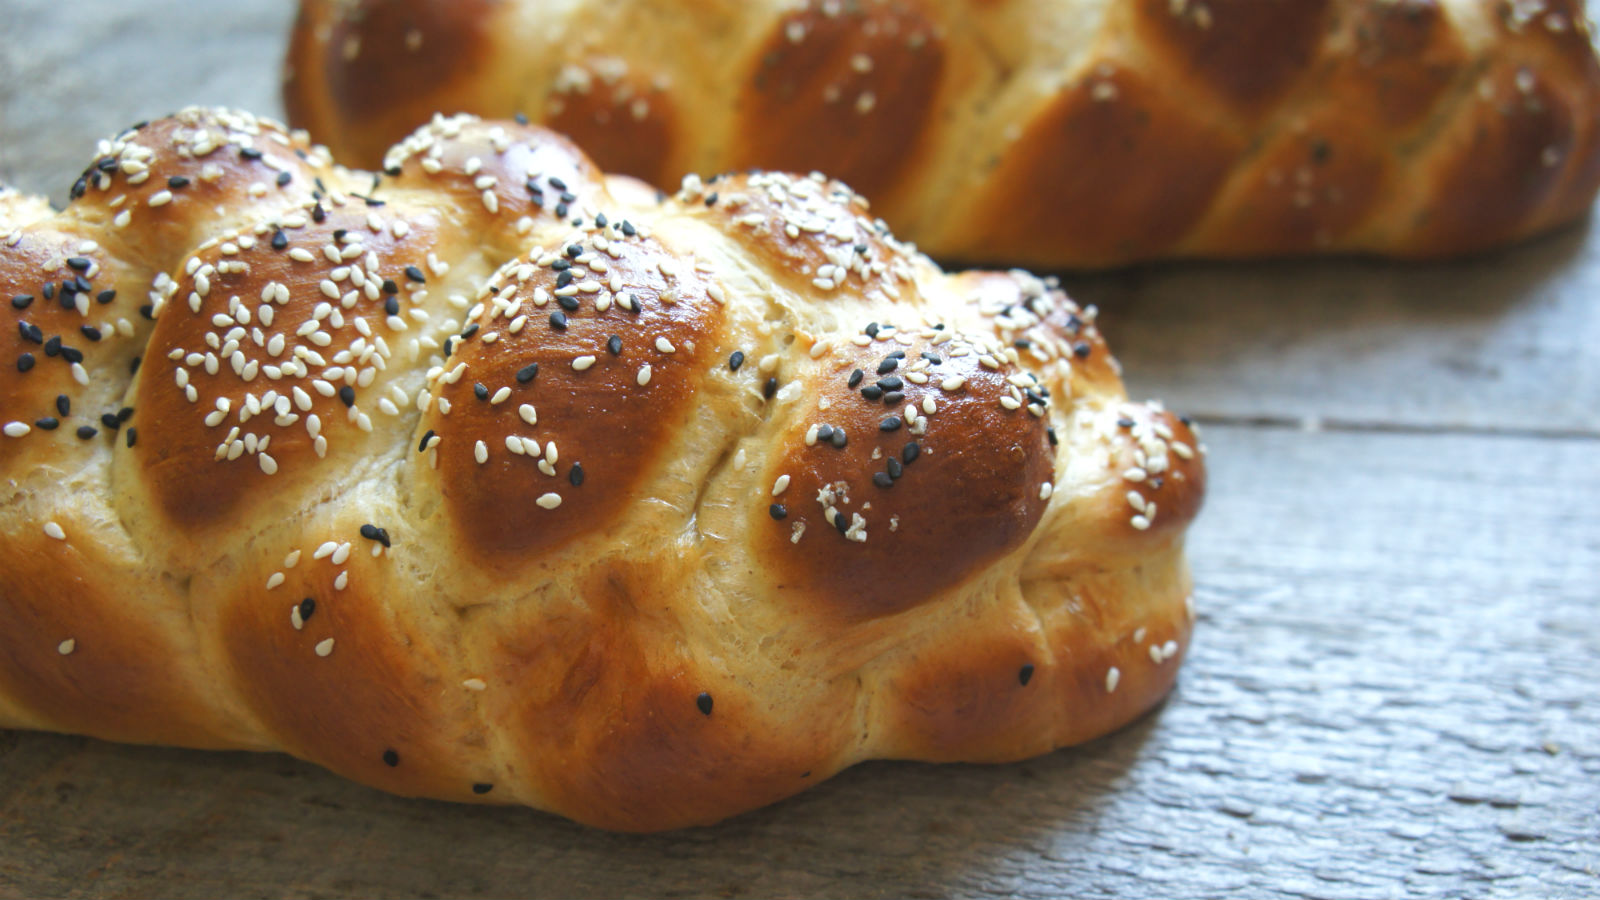
Hope you are sitting down for this, but I was not born a great challah baker. In fact, for the first years I was learning to make challah I made a lot of bad challah: challah that wasn’t baked all the way through, that was burnt on the bottom, that was too sweet, or that had over-risen and flattened out once baked. If you have ever struggled with challah baking, you know exactly what I am talking about.
The other thing I always share about baking is that sometimes the difference between good baked goods and great baked goods is the right tools and a few key techniques. If you’re struggling with getting your challah just right, read this and then see if these tips make a difference. I certainly hope they do, or I might be out of a job. (Also, they have made a world of difference for my challah baking).
If you’ve got some challah tricks and tips to share, please, please, please comment below. We always want to hear from you!
The Nosher celebrates the traditions and recipes that have brought Jews together for centuries. Donate today to keep The Nosher's stories and recipes accessible to all.
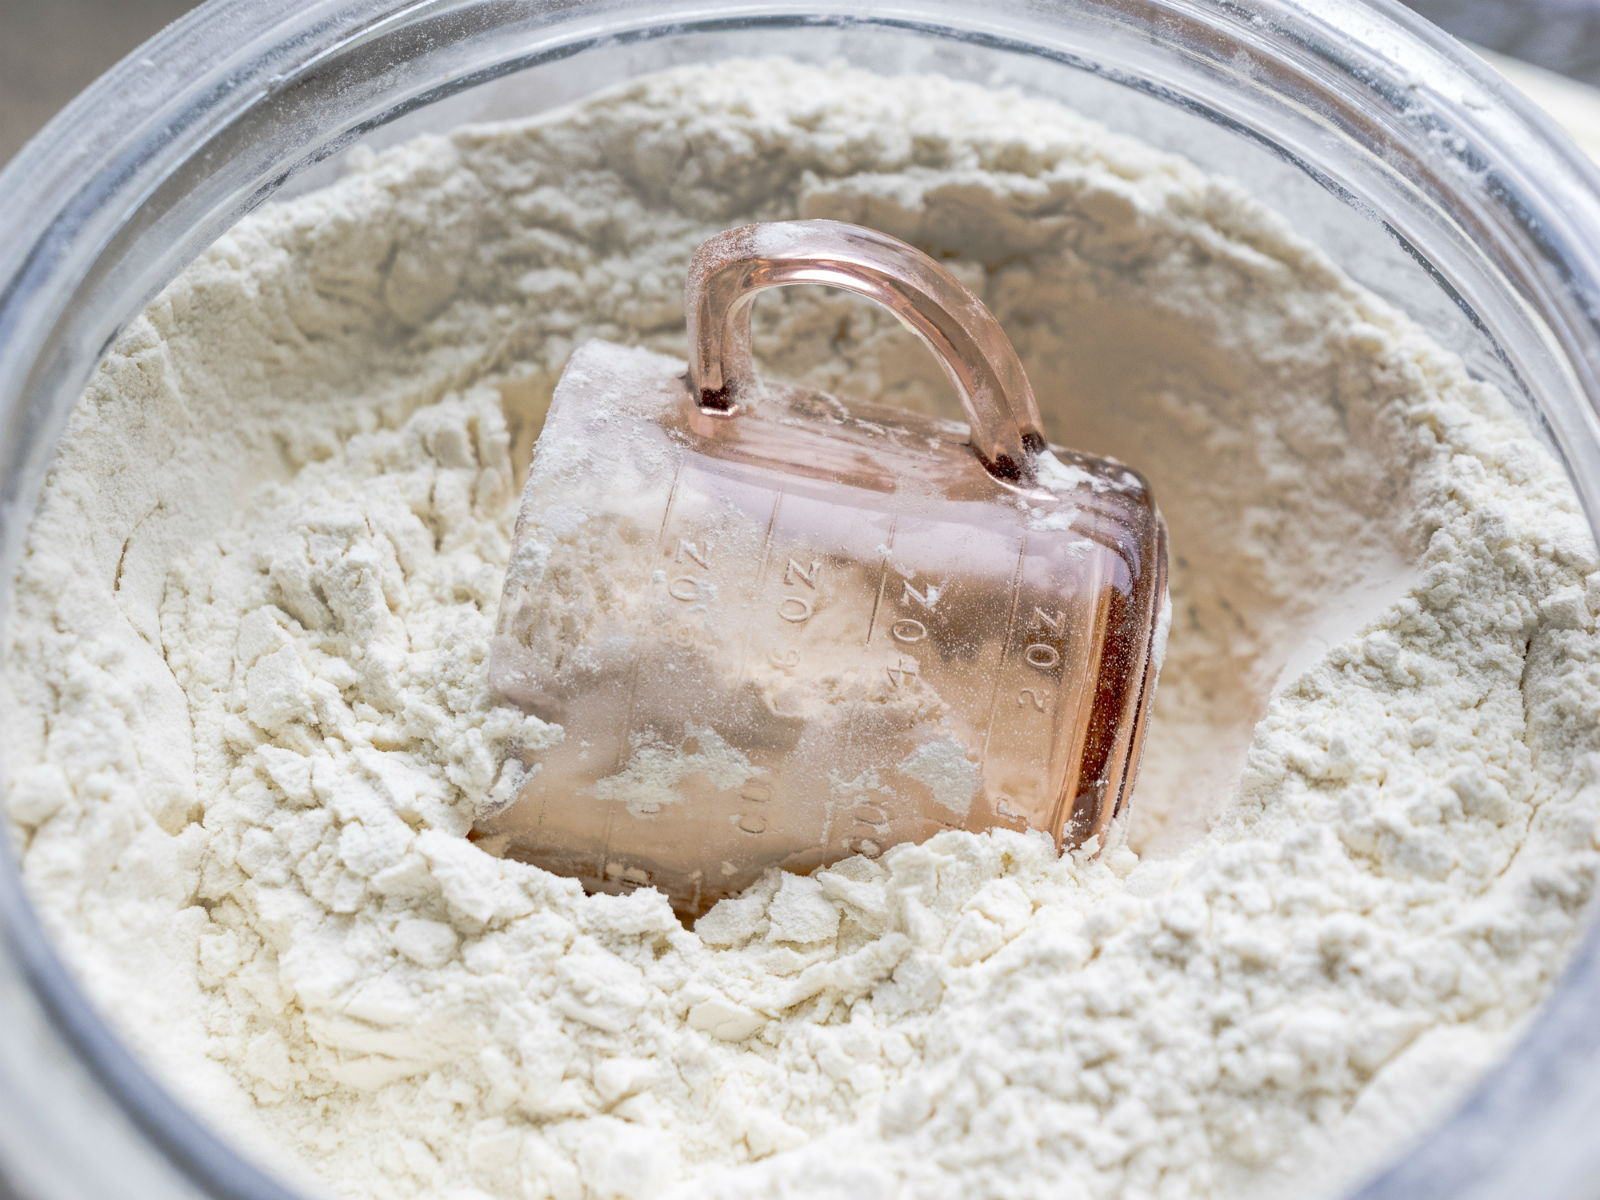
Flour Matters
Not all flours are created equal, and buying a high-quality flour will make the difference in your dough. I use only King Arthur Bread flour for my challah and other bread baking. If you cannot find King Arthur flour, I would recommend buying a bread or high-gluten flour from another reputable company and please, please, please do not just buy the generic flour in the supermarket or whatever flour is on sale.
With Flour, Less Is More
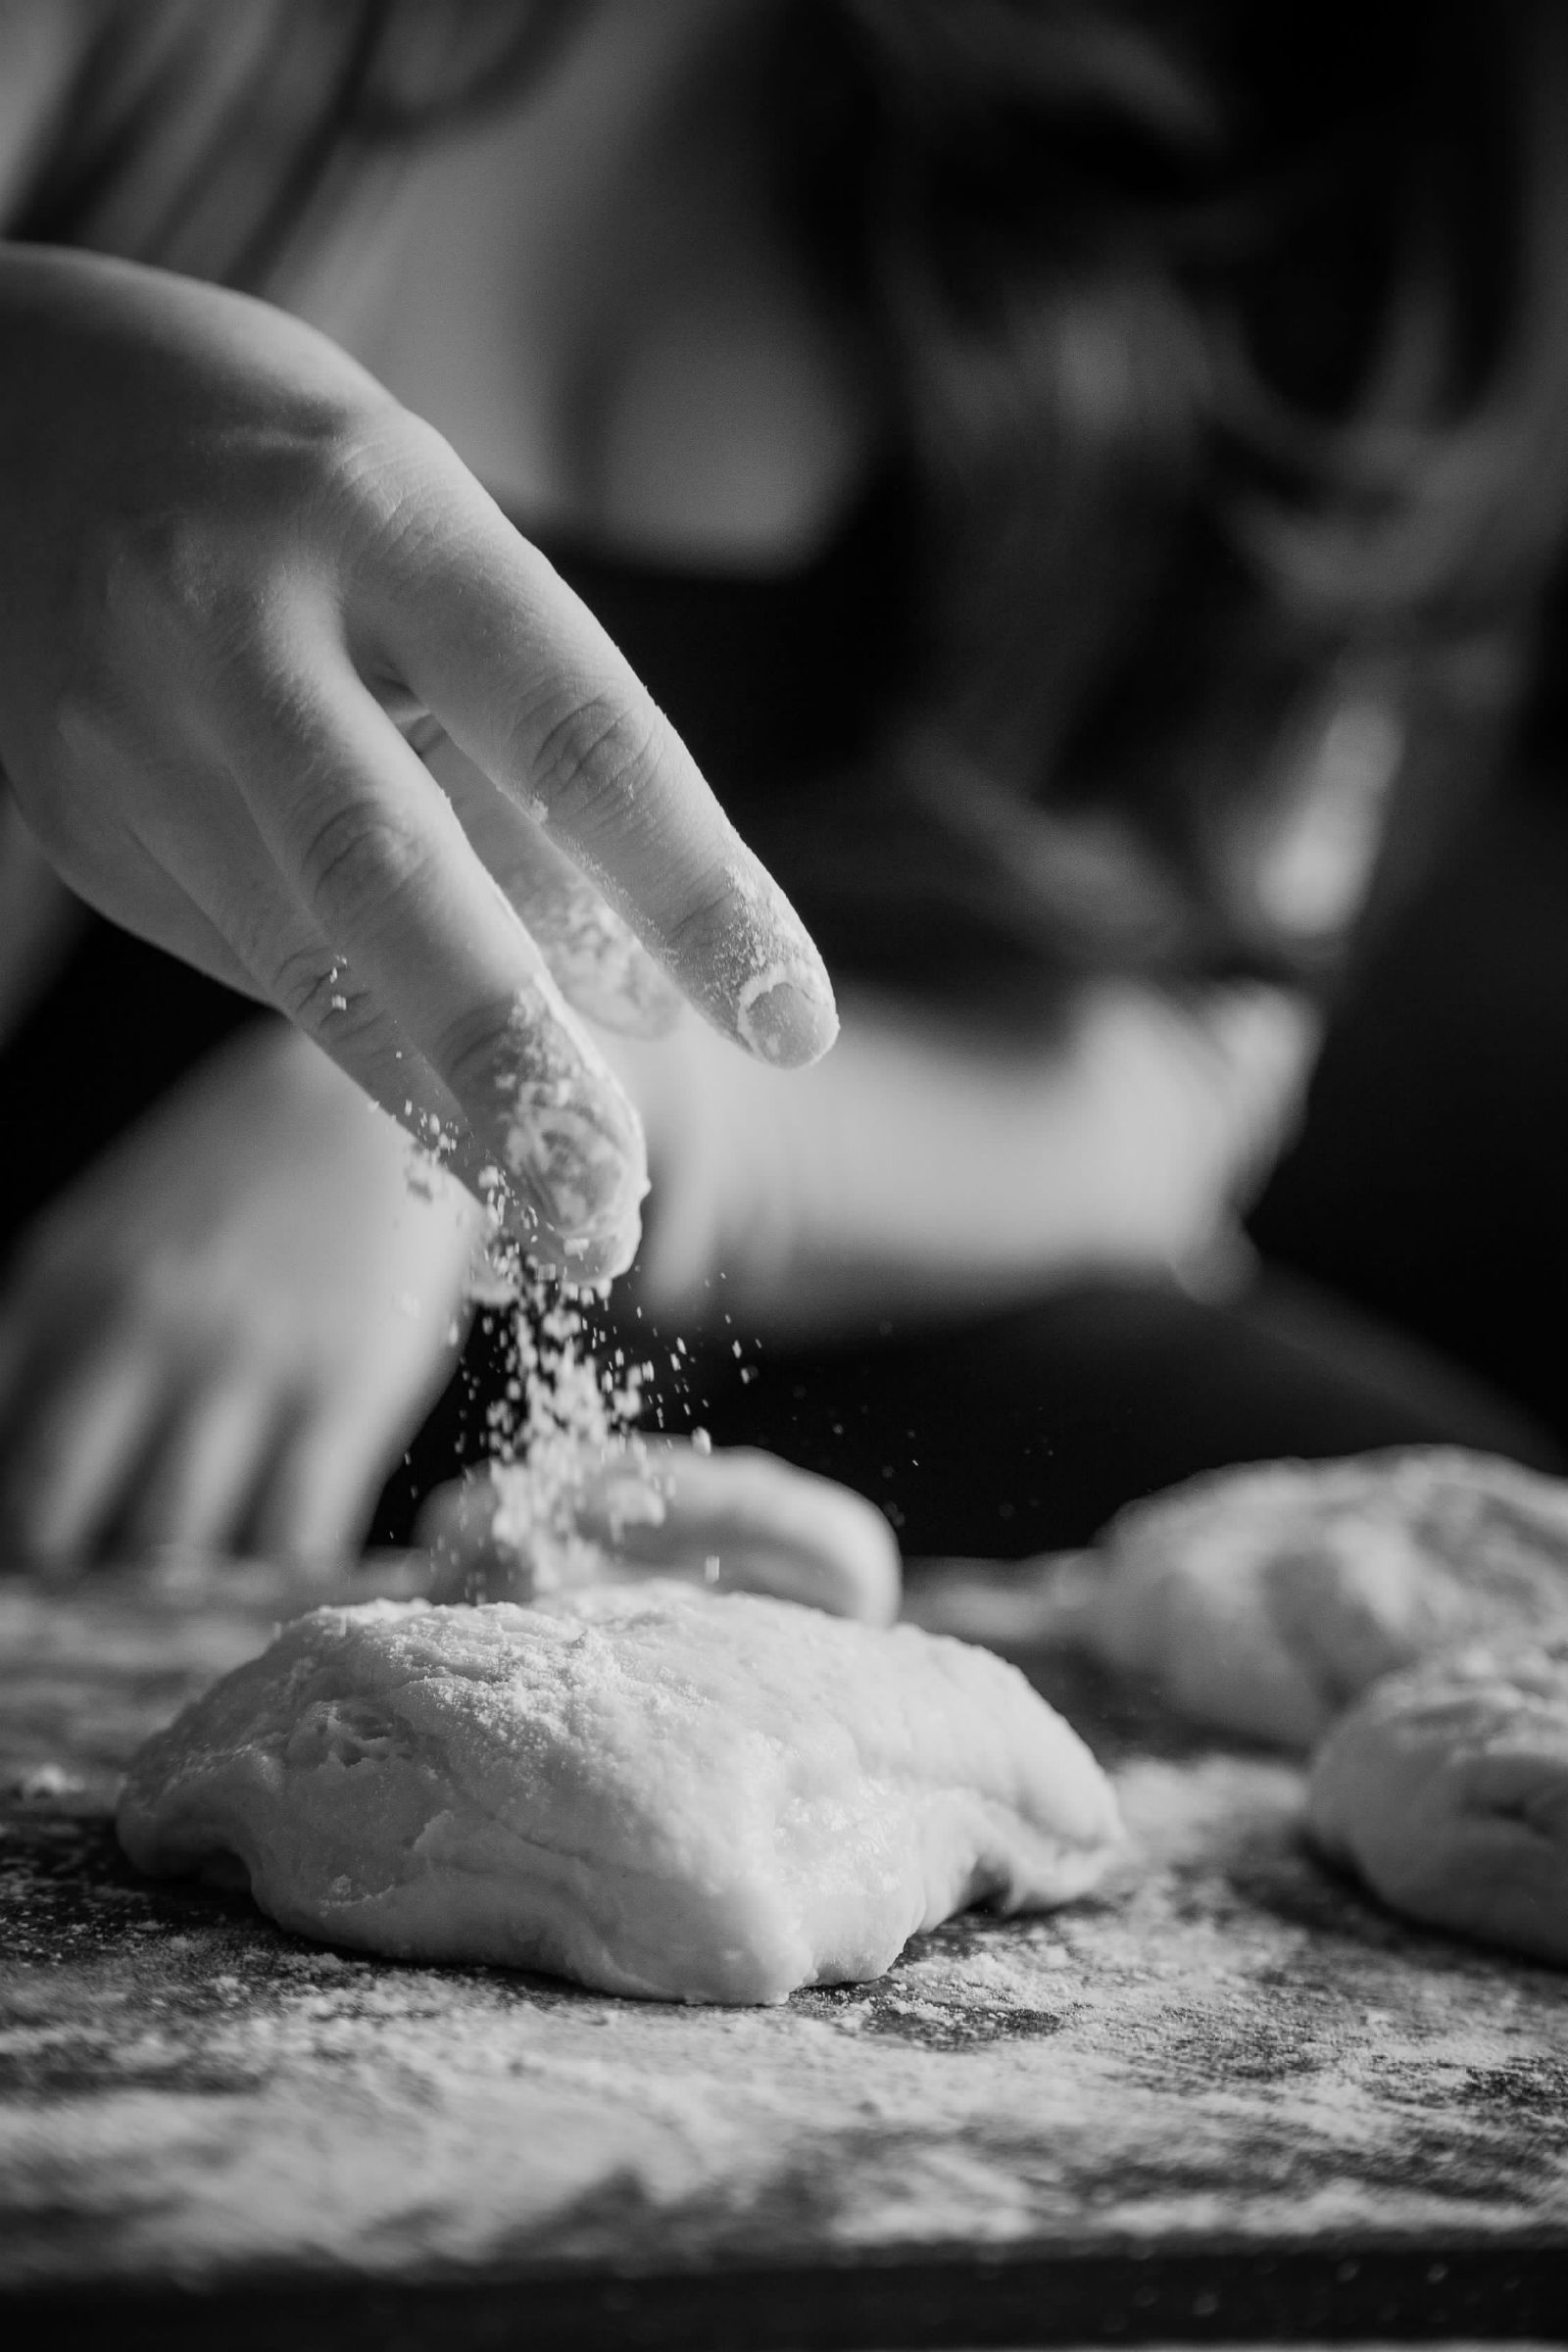
One culprit of dense, doughy challah: using too much flour. Challah dough can be sticky, and so your natural inclination might be to keep adding flour until it’s not sticky any more, which may result in an overly dense challah once baked. Less is more, so before adding more and more flour while kneading, just add a dusting to take the stickiness out. When you have used the amount specified in the recipe, leave the dough alone, knead for 5 minutes and then just let it rise.
Location, Location, Location
Humidity, season, temperature and altitude can all greatly impact your challah baking. This also applies for other yeasted doughs like babka and bread. During warmer months and in more humid/warmer climates, your dough may require a little less water and a little more flour to achieve the same consistency. Same goes for dryer/colder climate or cooler months. And if you live at a higher altitude, the rules are completely different for you. So while a recipe may suggest 5 cups of flour, you need to learn what the challah dough should feel like. Bread baking is both an art and science, and it’s important to understand what your ideal dough consistency should feel like in your hands.
Always Do a Second Rise
“My challah turned out doughy and dense in the middle – why?” This is one of the most common questions I receive about challah baking from friends, family, readers and strangers on the street. When I ask, “Did you do a second rise?” I often get a sheepish “no.”
You want to allow your challah dough to rise for 2-3 hours for the first rise (depending on the humidity and outside temperature), then braid or shape it. Then allow it to rise another 30 minutes to ensure a light, fluffy and not dense or doughy loaf. But take care not to let that second rise go too long; otherwise your dough will actually deflate and flatten, leaving your strands undefined and the shape and consistency will not be right.
Check Your Oven Temperature
Another classic issue you might have with challah baking is your oven temperature. While your oven dial might be at 350 degrees, all ovens are different and the real temperature might differ from what your oven’s thermometer is reading. Invest in a small oven thermometer like this (they are cheap) and then you will know once and for all if your oven is accurate. You can then adjust the temperature accordingly.
Don’t Bake On a Baking Sheet
When I first started baking challah, my loaves would end up burnt on the bottom and raw in the middle. And I couldn’t figure out how to get a nice clean bottom. The secret is silicone baking mats. I swear by using silpats, which, while a pricy investment at around $20 each, have lasted me years and years of weekly challah baking. You can also use parchment paper, but whatever you do, do not place those precious challah loaves directly on a baking sheet. They might be difficult to take off and will be even more prone to burning.
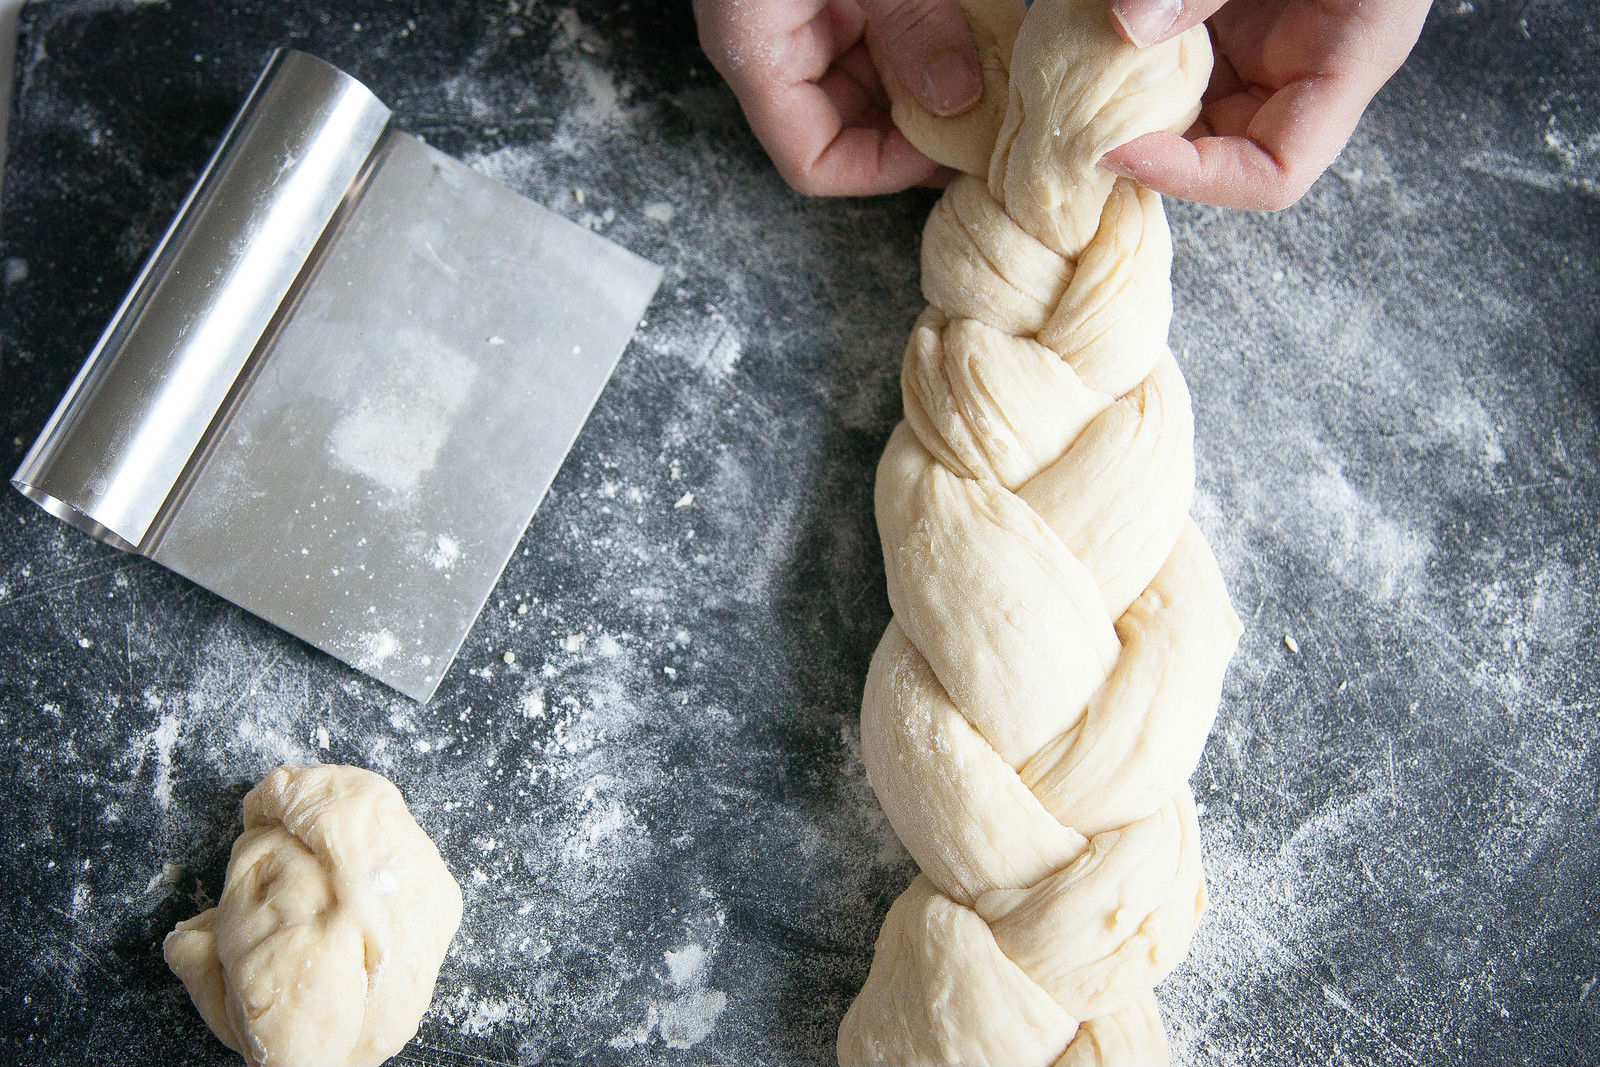
Practice Makes Perfect
Struggling with a six braid? Experimenting with some new flours? Whatever challah challenge you are working on, just remember that Rome was not built in a day and that great bread sometimes takes a lot of practice and precision. And as soon as you have mastered your flour ratio or braiding or oven temperature, the weather is going to change and you may have to adjust slightly. Be flexible, and be forgiving. Even the worst homemade challah is still delicious and perfect warm out of the oven. The joy of challah is making something warm, comforting and steeped in tradition for you and your loved ones, so at the end of the day, just enjoy. And try again next week.
Here’s some of my favorite challah recipes to try. You can also pick up a copy of my book, Modern Jewish Baker: Challah Babka Bagels and More for more recipes and braiding ideas.
- How to Make Basic Challah
- Honey Whole Wheat Challah
- Dill Pickle Challah
- Churro Challah
- Cheesy Pull-Apart Challah
- The Ultimate Gluten-Free Challah
- Bread Machine Challah
- Challah Hot Dogs