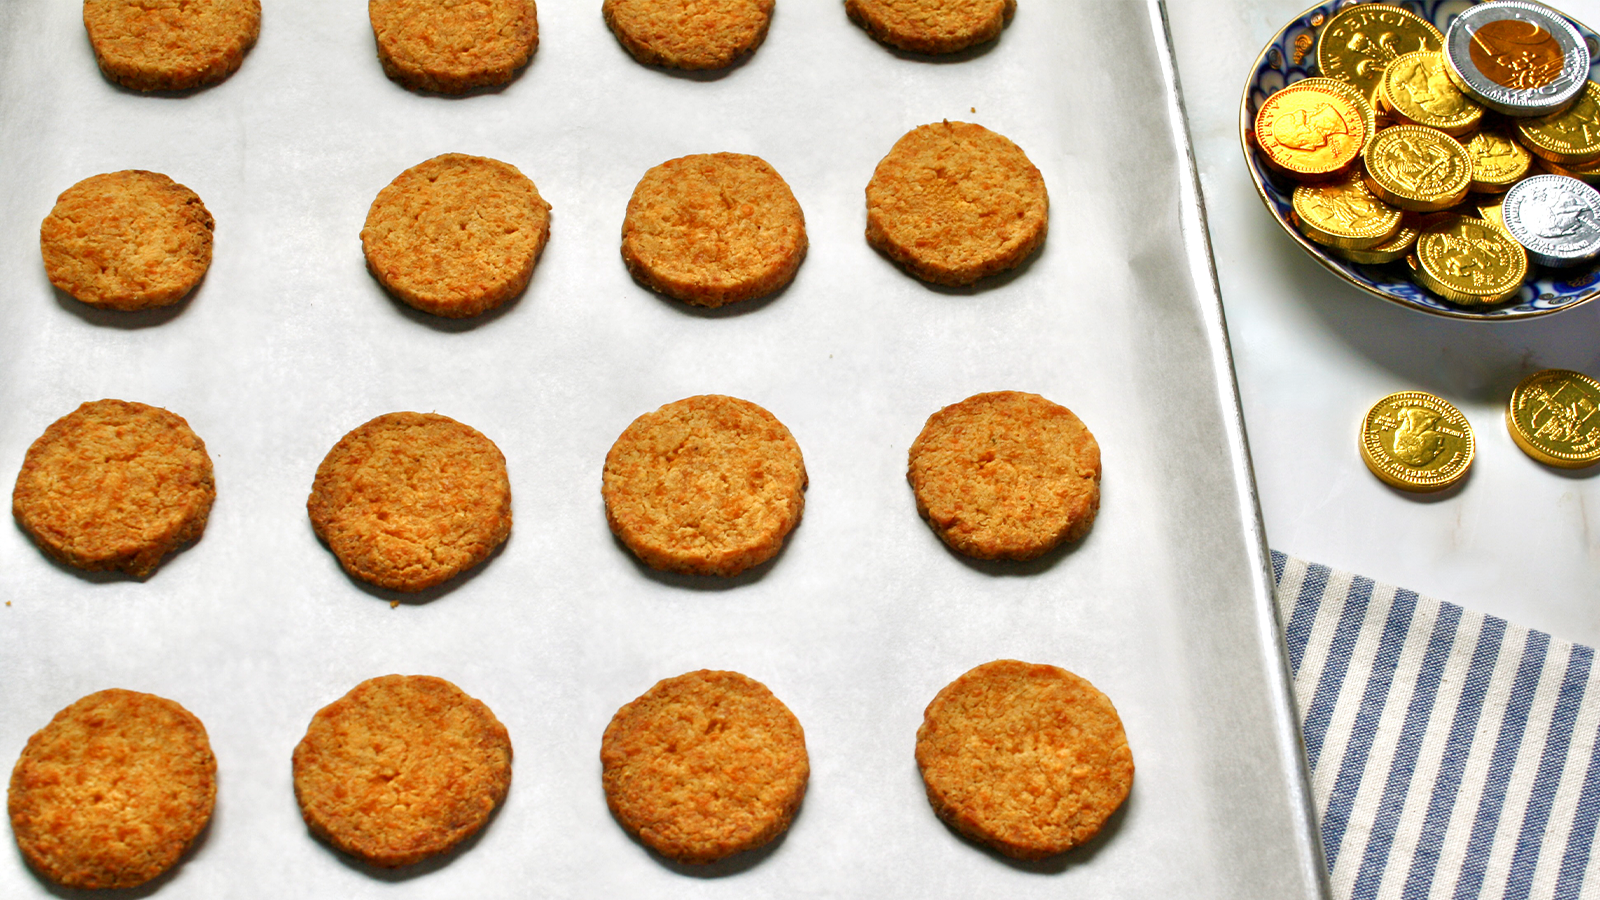
Hanukkah is a celebration of light, oil-laden delicacies and the gifting of gelt – real or edible coins. Among the many traditional reasons for gifting Hanukkah gelt, one is that we remind ourselves of the Jewish freedom that was gained during the miracle of Hanukkah, as a celebratory coin was minted after the Maccabees won their victory over the Greeks. European Jewish chocolatiers began making chocolate coins for Hanukkah as far back as the 18th century, and in America they became popular in the 20th century.
While edible gelt is most often found in chocolate form, I was inspired to try a savory route when I stumbled on the “Jewish Holiday Cookbook,” and Gloria Kaufer Greene’s suggestion to make British cheese “coin” crackers for the festival of lights. I am an unabashed cracker enthusiast; and I am always pleasantly surprised by how simple it can be to make them at home. Cheddar cheese coins (also called cheese pennies), have the addictive savory tanginess of a Cheez-It, with the hardiness of a homemade cracker.
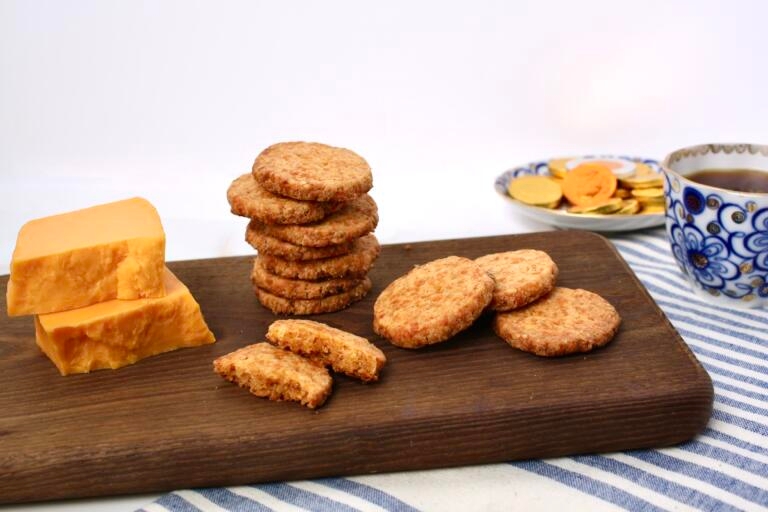
This retro snack is made with just a few simple ingredients like good cheddar cheese, flour and butter. They’re quick to whip up, and store well in an airtight container for up to one week. Cheese coins are flavorful enough to be served and eaten all on their own, ideally as a light nibble accompanied by a fizzy beverage before dinner. These crackers are extra delightful topped with a fruity fig or plum preserve, or even a slice of cheese on top – afterall, it is “guild the lily” season.
Whether you’re enjoying cheese coins over a game of dreidel, or as a pre-dinner cocktail snack, what’s not to love about salty, cheesy, crispy crackers?
The Nosher celebrates the traditions and recipes that have brought Jews together for centuries. Donate today to keep The Nosher's stories and recipes accessible to all.
Note: This recipe works best with hand-grated cheese, as opposed to the store-bought pre-shredded variety, which has a powdery coating on the outside.
Cheddar Cheese Coins Recipe
This retro snack is made with just a few simple ingredients like good cheddar cheese, flour and butter.
- Total Time: 0 hours
- Yield: 48 crackers
Ingredients
- 5 oz (140 g) extra sharp cheddar cheese, grated, about 2 cups
- ½ cup (1 stick) unsalted butter, very cold
- 1⅓ cups all-purpose flour
- 1 Tbsp cornstarch
- 2 tsp dry mustard powder
- 1 tsp sweet paprika
- ¼ tsp salt
- 1 Tbsp apple cider vinegar
- 2–3 Tbsp ice cold water
Instructions
- Start by grating your cheese. Cube your butter very small.
- To the bowl of a food processor add the flour, cornstarch, dry mustard powder, paprika, salt and grated cheese. Pulse 2-3 times to mix.
- Add the cubed butter and pulse 5-6 times, or until the mixture forms pea-sized crumbs.
- Add the vinegar and 2 Tbsp water. Pulse until the dough is like the texture of fine crumbly sand and easily holds together when balled up in your hand. If the mixture looks too dry and doesn’t stick together, add one more Tbsp water and pulse a few more times.
- Transfer to a clean surface and form into a ball. Divide the ball into two equal halves, and form each half into a log, about 1½” in diameter, and about 7-8” long. Wrap each log in plastic wrap and chill for at least 2 hours or overnight.
- Preheat the oven to 375°F, arrange the oven racks so there is one on the top third and one on the bottom third of the oven (alternatively, you can bake the crackers in the center of the oven, one baking sheet at a time).
- Line two baking sheets with parchment paper. Slice the chilled dough into ¼” rounds. Place them on the baking sheets, leaving an inch or two between each coin.
- Place the baking sheets on the top third and lower third of the oven, and bake for 6 minutes. Rotate the baking sheets, and bake for 6-8 more minutes, or until they are just starting to turn golden brown at the edges. If you like them crispier, bake until slightly deeper brown on the edges and on top.
- Let the coins completely cool on a baking rack. Once cool, serve or store in an airtight container for up to one week.
Notes
This recipe works best with hand-grated cheese, as opposed to the store-bought pre-shredded variety, which has a powdery coating on the outside.
- Prep Time: 10 minutes + 2 hours chill time
- Cook Time: 12-14 minutes
- Category: Appetizer
- Method: Baking
- Cuisine: Holiday

Yummy
What do I do if I don’t have a food processor?
You could use a strong blender (like a Vitamin) or you can use a biscuit cutter to create a short pastry. You want to take care not to overwork the dough with your hands, which will warm the butter. Creating “pea-sized crumbs” is really important for a flaky, crispy dough.
I used my food processor for grating the cheese, but feel that it would have been better hand grating to get smaller pieces. Even after adding a few tablespoons of water, it was hard to get the dough to hold together. Next time, I’d also add some additional spices to enhance the flavor.
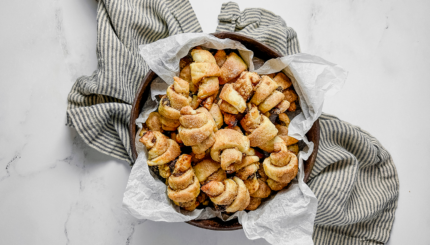
What can I pair this with to serve as an appetizer?
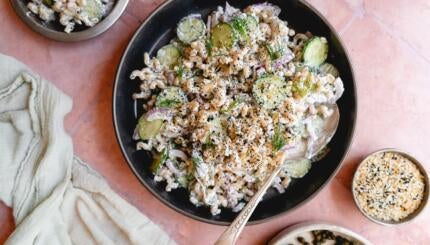
Feel free to delve into our appetizer archives, but this smoked trout schmear would be a good place to start!