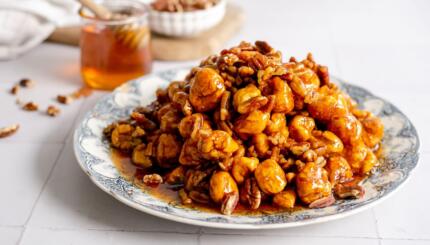
Like most Jewish holidays, Rosh Hashanah brings to mind certain traditional food customs – the most well-known being the dipping of apples in honey.
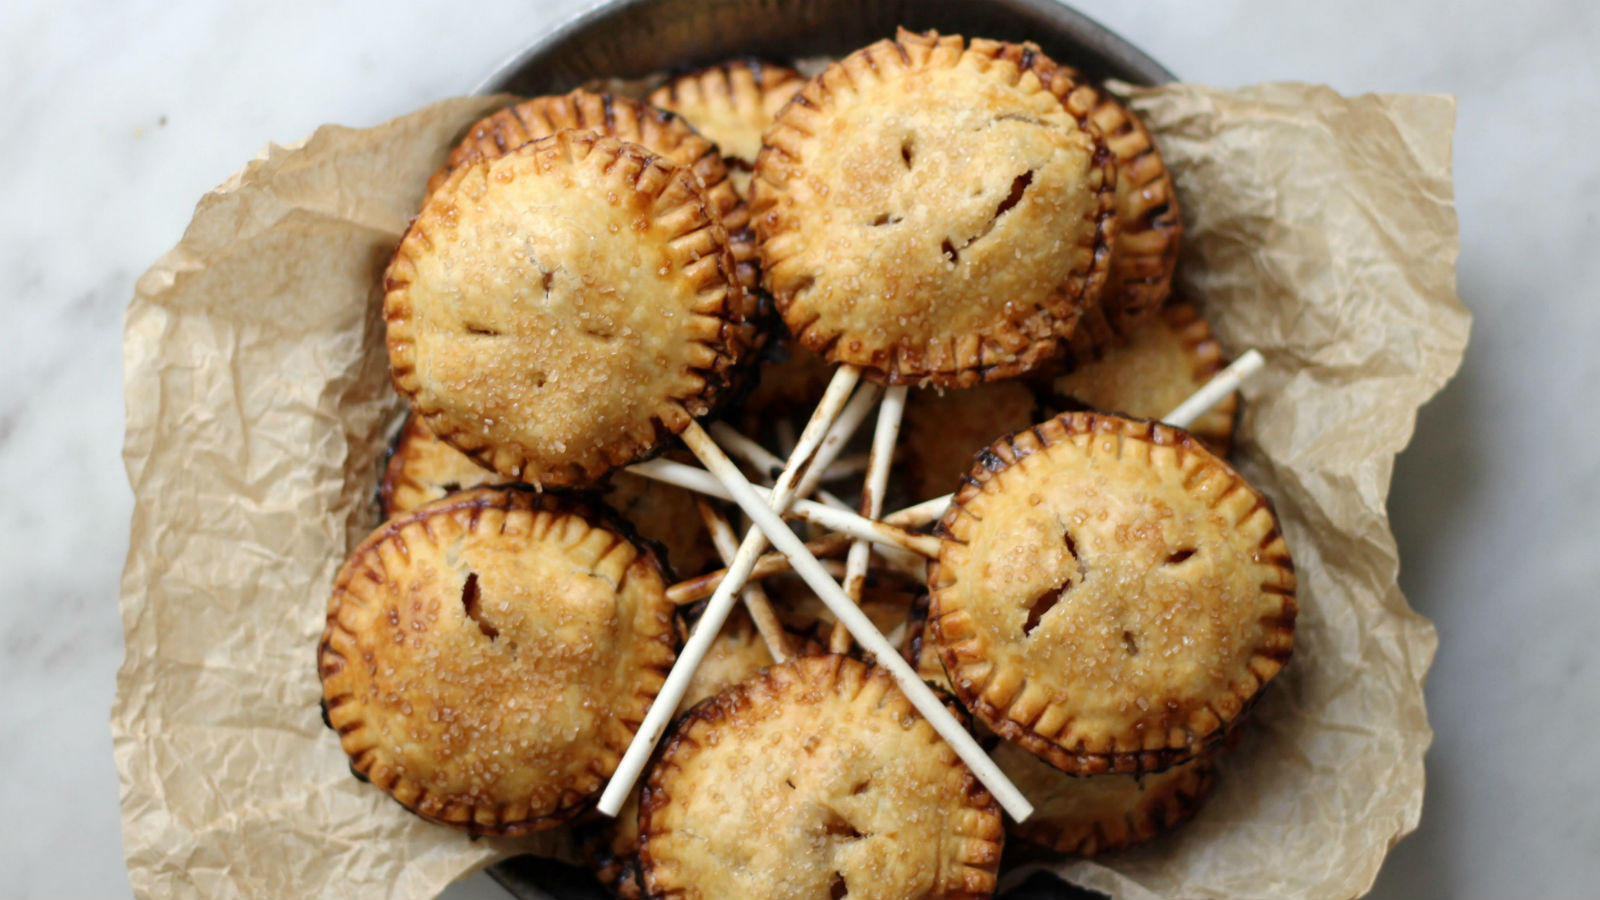
And while a classic apple pie or cake is a lovely way to commemorate our hopes for a “sweet new year,” I thought it would be fun to change things up a bit. These apple and honey pie “pops” are a cinch to make – and even more fun to eat! They can be assembled (and frozen) in advance, and are especially nice to serve for a crowd – no cutting or forks needed!
Even better, you only need a few simple ingredients, yet wind up with something truly delicious, and a little different. Sweet indeed!
Notes:
The Nosher celebrates the traditions and recipes that have brought Jews together for centuries. Donate today to keep The Nosher's stories and recipes accessible to all.
- The pops can be frozen before baking. Reheat directly from the freezer, adjusting baking time by a few extra minutes.
- The pops may be kept tightly sealed, at room temperature, for 3-5 days.
- For this recipe you will need a 2-3” cookie cutter (or drinking glass) and lollipop sticks.
Apple and Honey Pie Pops
These pops are an easier — and more adorable — version of pie!
- Total Time: 40 minutes
- Yield: 12-16 pops
Ingredients
- 2 Granny Smith apples, peeled and diced
- 2 Tbsp sugar
- 2 Tbsp honey
- ¼ tsp cinnamon
- ¼ tsp salt
- 1 package (2 crusts) refrigerated pie crusts, set out at room temperature for 15 minutes
- 1 egg, beaten with 1 Tbsp water
- raw or “sanding” sugar, for sprinkling
Instructions
- In a medium pan combine the apples, sugar, honey cinnamon and salt. Bring to a simmer and cook over low heat for about 10 minutes, or till the apples have softened and the juices have thickened. Remove from heat and let cool.
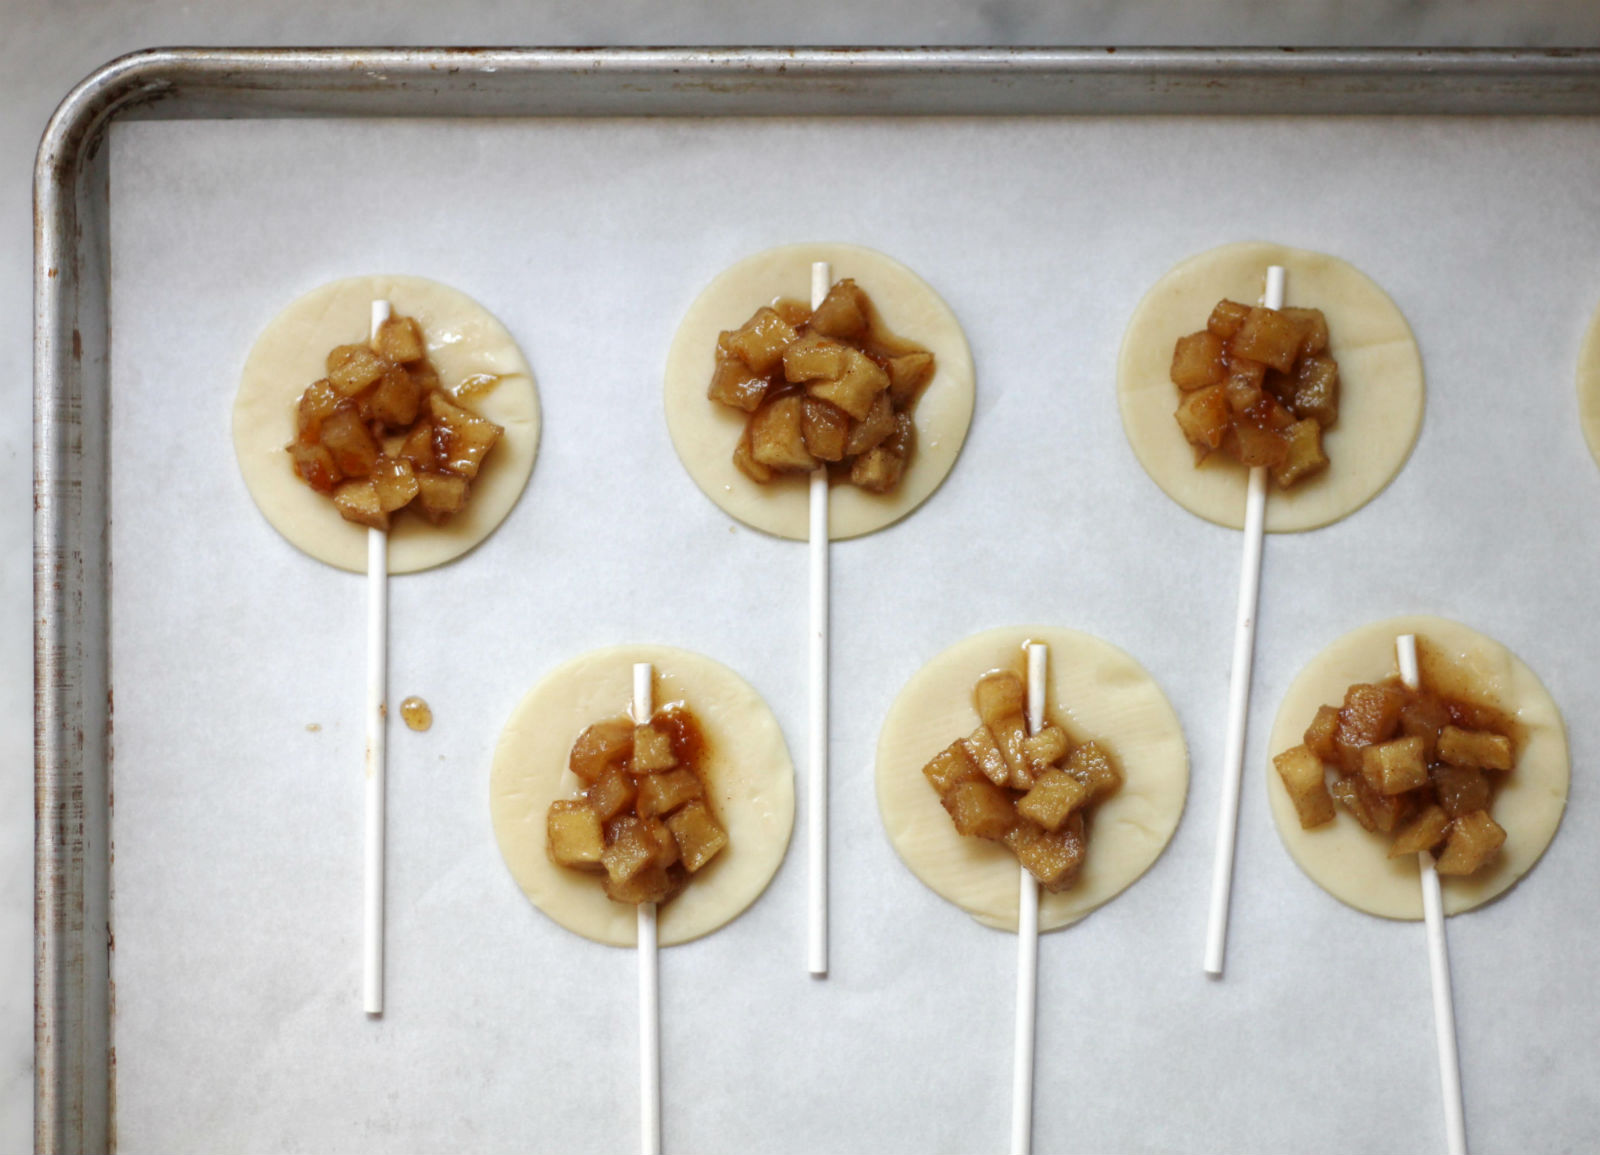
- Preheat oven to 400°F; line two baking sheets with parchment paper. Unroll one pie crust on a work surface. Use your cutter to make as many circles as you can; place on your prepared baking sheets.
- Put a lollipop stick in the center of each circle, pressing down lightly to secure. Place 1 tsp cooled filling on each circle. Use a pastry brush to brush a bit of the beaten egg around the edge of each circle.
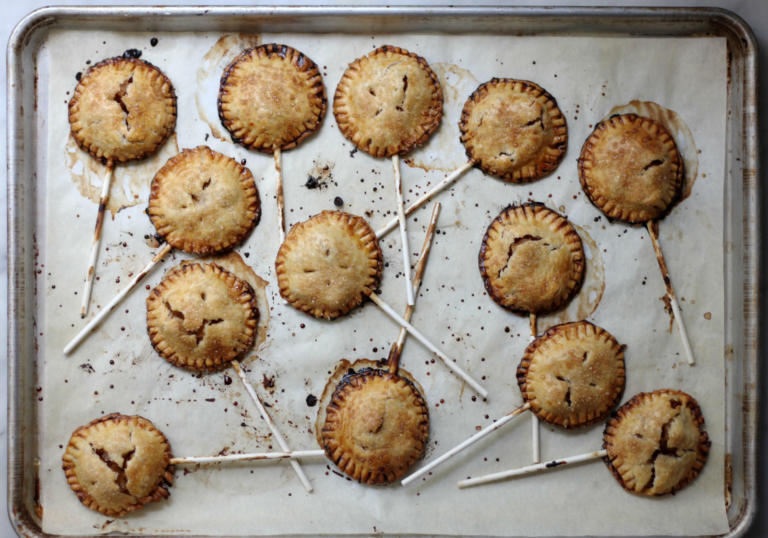
- Unroll the second pie crust and cut out an equal number of circles to the first crust – place atop the filled crusts and press lightly to seal. Crimp the edges with a fork and make a few small incisions in the center to allow steam to escape.
- Brush tops with the egg and sprinkle with the raw sugar (pops may be frozen at this point – reheat directly from the freezer, adjusting baking time by a few extra minutes).
- Bake pops for 20 minutes; transfer trays to wire racks to cool completely. Serve warm or at room temperature.
Notes
- The pops can be frozen before baking. Reheat directly from the freezer, adjusting baking time by a few extra minutes.
- The pops may be kept tightly sealed, at room temperature, for 3-5 days.
- You will need a 2-3” cookie cutter (or drinking glass) and lollipop sticks for this recipe.
- Prep Time: 20 minutes
- Cook Time: 20 minutes
- Category: Dessert
- Method: Baking
- Cuisine: High Holidays
1 comments
Leave a Comment
Rosh Hashanah
Pronounced: roshe hah-SHAH-nah, also roshe ha-shah-NAH, Origin: Hebrew, the Jewish new year.

Wilton lollypop sticks linked in the article are not oven safe. Better to insert sticks after or make a hand pie.