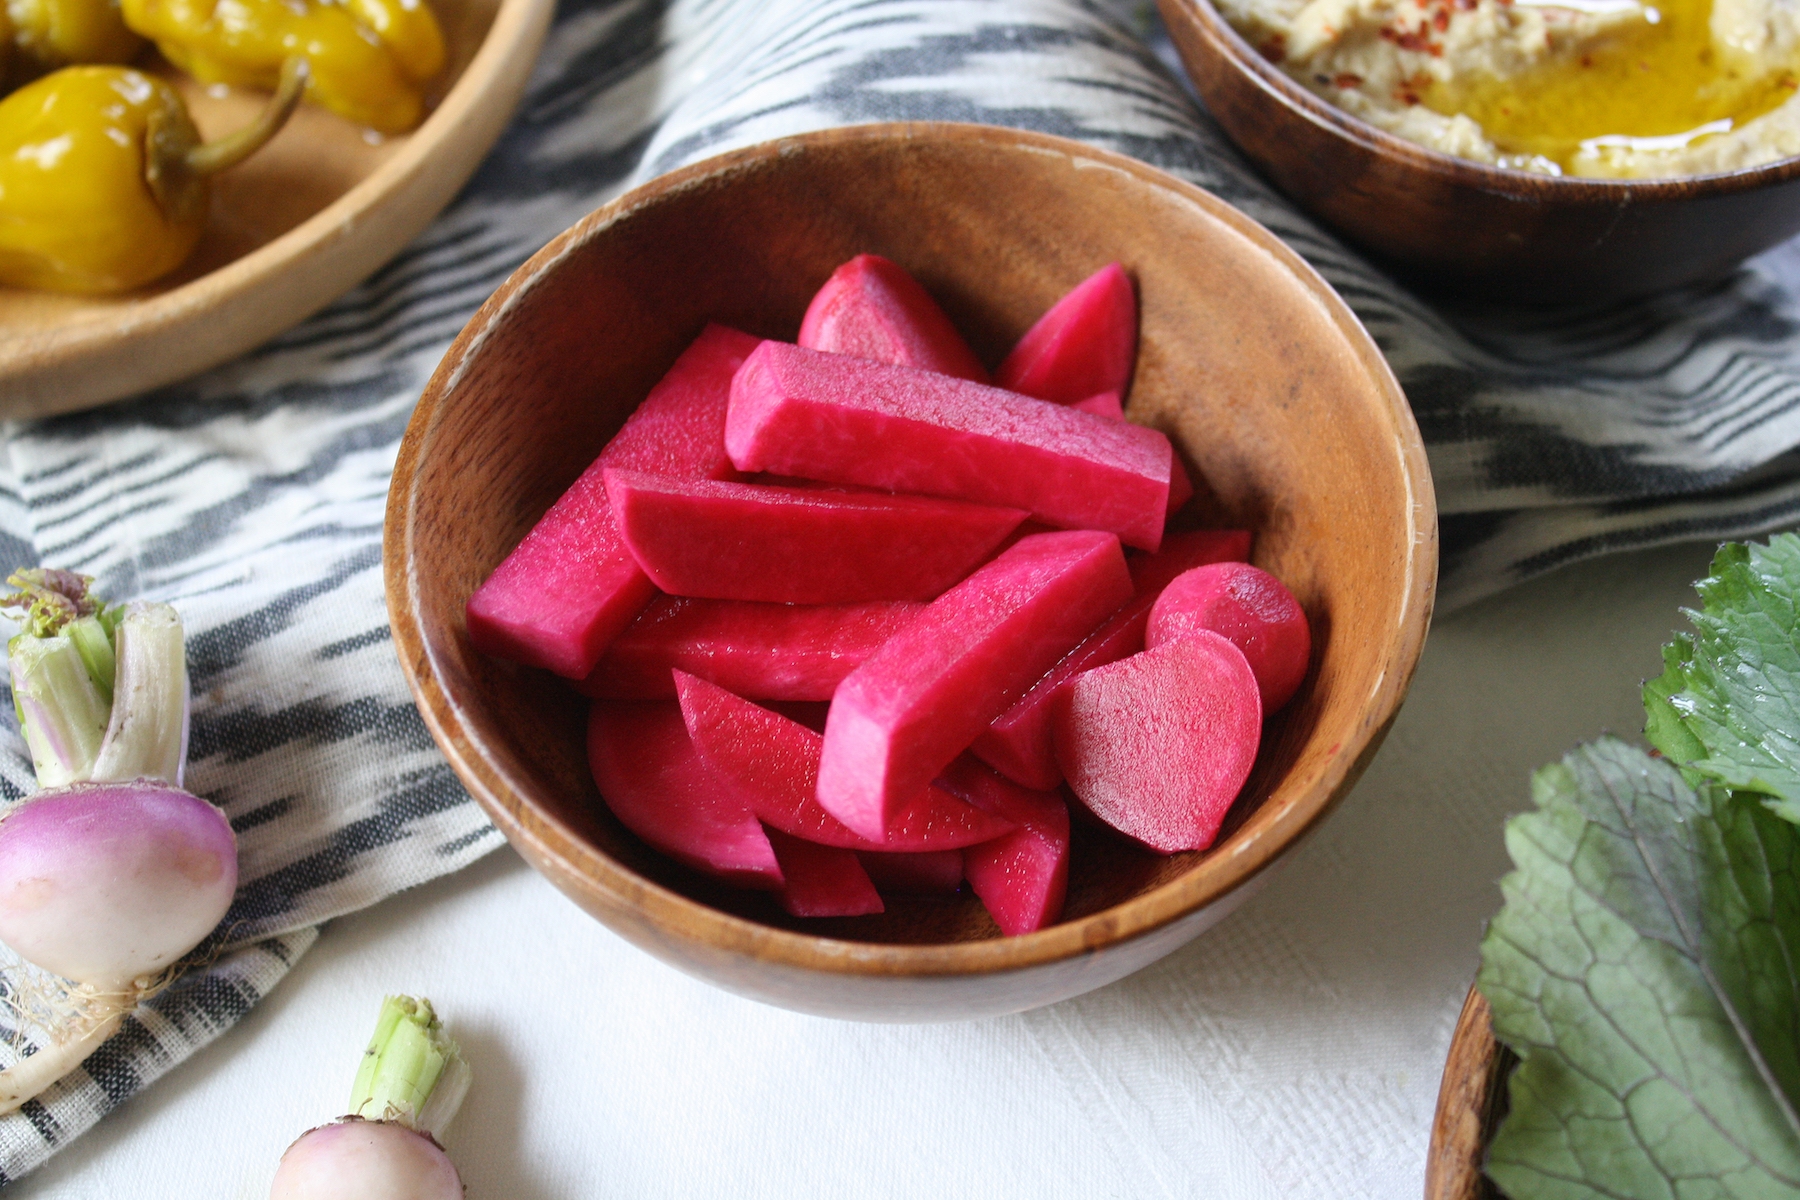
Pink pickled turnips are a fixture of Middle Eastern cuisine, and it’s hard to find a restaurant shawarma plate without them. Their rose-like magenta color makes you forget that these pickles are in fact made from an often overlooked root vegetable. Their seemingly unnatural pink color is not a result of synthetic food colorings, but comes from the addition of red beets that impart their deep-hued color to the white-fleshed turnips as they ferment.
Turnips have a sharp mustardy flavor that is similar in pungency to a radish, and that becomes mellower and sweeter when cooked or pickled. Turnips are usually found tucked away next to rutabagas and parsnips in the produce section of most grocery stores. If you pick them up at a farmer’s market you might get lucky enough to find some small-sized tender turnips with their greens still attached. Don’t let go of those greens; sautéed with butter and garlic, they’re a delicious side all on their own. Turnip greens can also be used in their raw form, and make a spicy leafy addition to a salad or sandwich.

Pink pickled turnips taste just as good as they look. They are salty, vinegary, and peppery, and their aromatic acidity helps cut through the richness of crispy fried falafel, grilled meats, or spicy foods. I also like them alongside brunch. They’re less sour than pickled cucumbers and nicely complement a buttery omelette and fried or roasted potatoes. You can buy pickled turnips at any Middle Eastern or Persian market, but they’re surprisingly easy to make at home. Peeled and cut up into small pieces, the turnips go into a jar with some sliced beets. A simple brine of salt, water, vinegar, and a few aromatics gets added to the vegetables. Let the turnips hang out in the brine for less than a week, and then they’re ready to go and can last in the fridge for a month. The recipe is simple, the ingredients are minimal and inexpensive, and the finished product adds beauty and tangy brightness to any plate of food.
The Nosher celebrates the traditions and recipes that have brought Jews together for centuries. Donate today to keep The Nosher's stories and recipes accessible to all.
Ingredients
- 3 cups water
- ⅓ cup kosher salt
- 1 Tbsp sugar (optional)
- 2 bay leaves
- 1 tsp black peppercorns (optional)
- 1 cup white vinegar
- 2 lbs turnips
- 1 small beet
- 2 cloves garlic
Directions
- Add water, salt, sugar, bay, and peppercorns to a pot and bring to a simmer. Simmer for 3-5 minutes until the salt and sugar are completely dissolved and the bay and pepper have begun to flavor the brine. Allow the liquid to cool slightly before adding the vinegar.
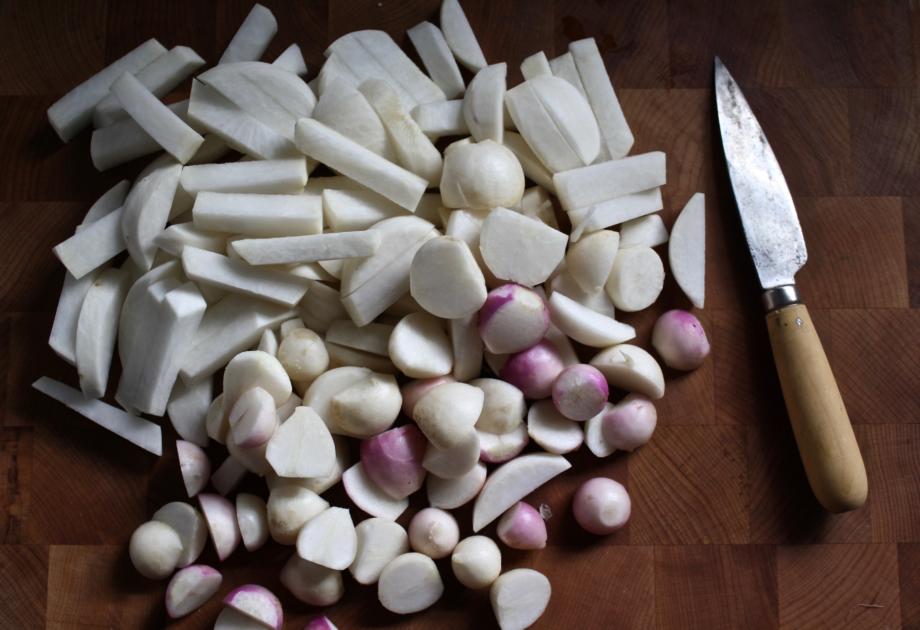
- While it’s cooling, peel the turnips and cut them into batons or pieces that are about ½”-thick. If using baby turnips, you do not need to peel them and you can halve or quarter them depending on their size. Peel and thinly slice the beet. Peel and slightly crush the garlic cloves.
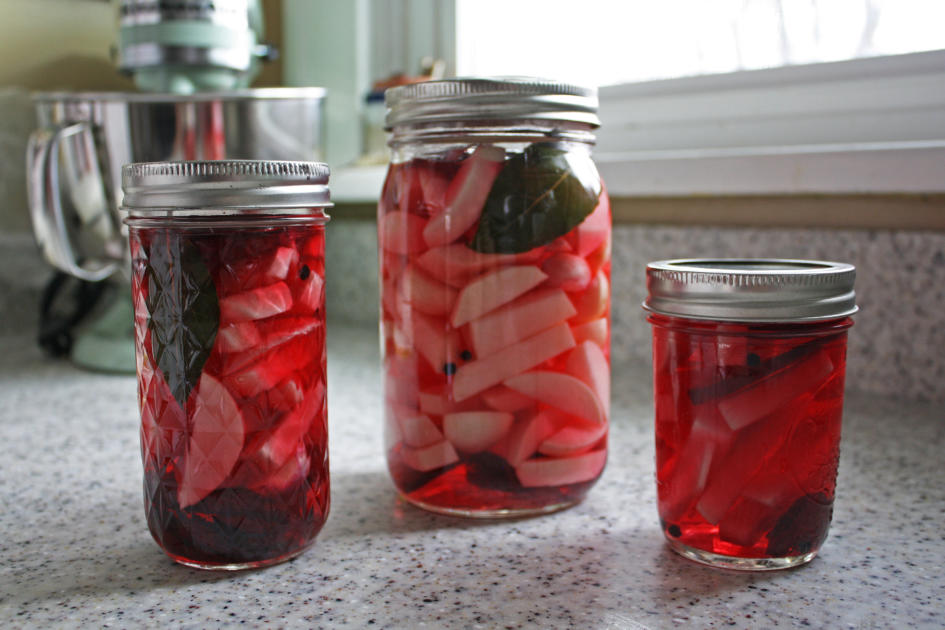
- Add a few sliced beets to the bottom of a clean mason jar (or jars). Fill the jar with the cut turnip and garlic, and top with a few more slices of beet.
- Add the vinegar to the cooled water and salt solution. Pour the brine into the jar(s) so that the vegetables are fully covered in the liquid. Add the bay leaves and peppercorns from the brine. Close the jars, and place in a cool dark place for 5 days.
- After the turnips ferment for 5 days, they are ready to eat. You can refrigerate them for up to a month.