In the ancient world, bread was usually made by using a type of sourdough starter. A little bit of raw dough was set aside, unbaked, in a cool, shaded place. This dough was then used as the leavening agent for the next week’s bake. Preparing leavened bread required the use of old matter, a bacterial culture that was continuously fermenting in an unbroken chain of bread baking with no beginning and no end. Perhaps this is why God demands that our cleansing each spring be total: we need to break all the chains that fetter us to the past. We must clear out all of the old from the house to make way for the new.
The ancient Hebrew word for leaven, or yeast, is se’or. There are no coincidences in the Hebrew language, and often there are multiple meanings within one word. The root of the word lehash’ir, which means to leave behind, is se’or. We can see this as an allusion to the Passover theme of leaving the past behind to start a new beginning. The “chain” of sourdough starter that was used constantly can be seen as a metaphor for the chains of slavery. The plainness and simplicity of matzah can be reinterpreted as a clean slate, the new beginning of the freed slave.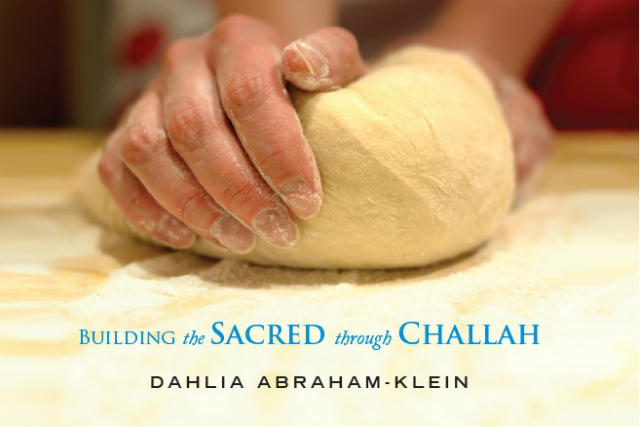
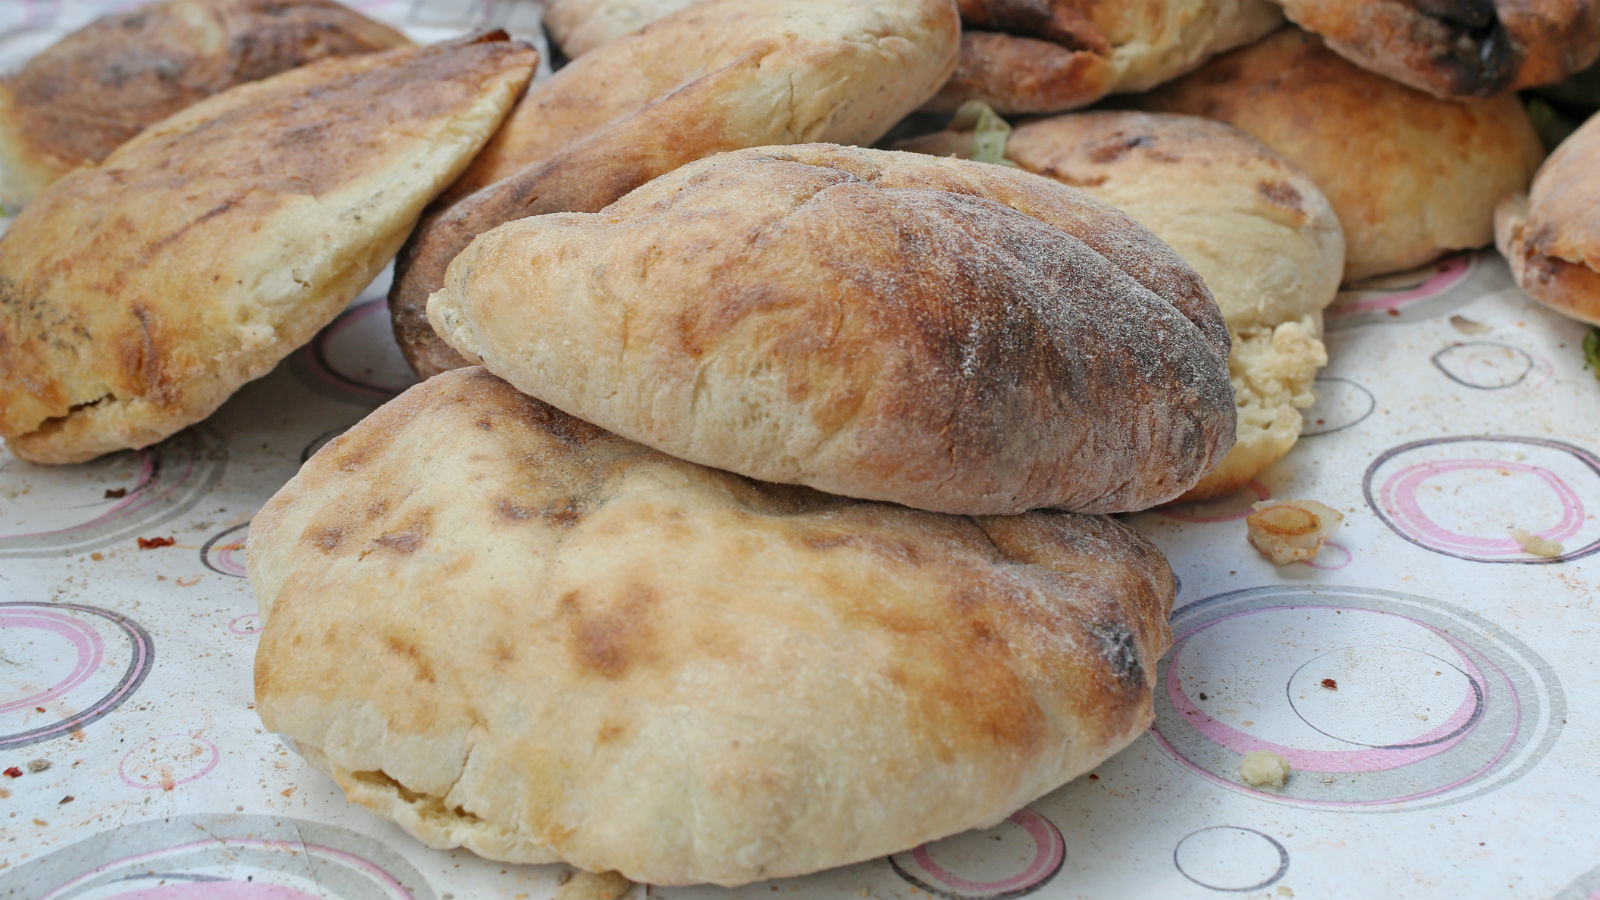
Use your left-over flour in preparation for cleaning out last year’s chains to the past to make pita, a type of round flatbread. Although pita is leavened, as a flatbread, it is similar to the Yemenite and Iraqi matzah, which is soft, rather than crisp, like typical Ashkenazi and Sephardic matzah. The circular shape can serve as an illustration of renewal, as we move through the cycle of the year to re-enter the spring season once more, and with it, the beginning of the Jewish year.
This recipe appears in my new book, Spiritual Kneading Through the Jewish Months: Building the Sacred Through Challah as part of my vision to write about how each Jewish month carries a specific energy from which we can draw it down and learn from it.
Ingredients
4 Tbsp active dry yeast
4 cups (1liter) warm water
2 Tbsp sugar
5 pounds (2.25 kg) flour
2 Tbsp sea salt
2/3 cup (150 ml) neutral tasting oil, such as safflower oil
Directions
In a large bowl, combine the yeast with the 2 tablespoons of sugar and the warm water. Cover the bowl and allow the mixture to start activating. Yeast activation should take about 10 minutes; it will be bubbling and foamy.
Set 1 cup (125 g) of flour aside. Sift the remaining flour, and salt into the bowl. With a spatula, combine the ingredients. Once the ingredients come together as dough, it is time to knead. At this point, you can remove the dough from the bowl and knead on the kitchen counter if it’s easier for you, or directly in the bowl.
To knead the dough: Grab the side of the dough furthest away from you and fold it toward yourself. Fold the dough in half and use your body weight to push the dough into itself. If you find that the dough is sticking too much to the surface and preventing you from kneading properly, dust some flour on the dough. Give the dough a quarter turn (90 degrees). Grab the other side and fold it in half. Again, with a lot of weight behind it, push the newly folded half into itself. Repeat this process for 10-15 minutes or until the dough is smooth, silky, elastic, and does not stick to the surface.
After the dough is thoroughly prepared, grease the large bowl with a fine layer of oil, turning the dough in the oil several times so that the dough is greased lightly on all sides.
Cover the bowl with a large plastic garbage bag or kitchen towel and allow it to rise for 40 minutes.
Knead the dough again for a few more minutes and then divide the dough into 30 balls. Use the remaining flour, for the surface area and hands to prevent sticking. Roll each piece into a 6-inch (15 centimeters) pancake. Cover with kitchen towel and let them rise again in a warm place for 20 minutes.
Preheat the oven to 500°F (260 C) with a cookie sheet on the oven’s bottom rack. The hot cookie sheet will facilitate the pita baking process.
Place approximately six pitas on the hot cookie sheet, separating each pita by 2 inches (5 centimeters). Bake on the bottom rack for 3-4 minutes, flip over and then bake for another 2 minutes. You want the pitas puffed and lightly colored, not browned. Continue this process in batches until all pitas are baked.
If the pita puffs up once out of the oven, gently pierce it with a fork. Wrap the pitas in a towel till they are cool, then store in plastic bags until ready for use. You can store in the freezer for up to 2 months to retain freshness.
Ashkenazi
Pronounced: AHSH-ken-AH-zee, Origin: Hebrew, Jews of Central and Eastern European origin.